

How To Do Winged Eyeliner For Every Eye Shape | Red Apple Lipstick
Oh, the famous winged eyeliner. It is one of the most requested eye makeup looks, yet it has a reputation for being tricky, especially if you are a beginner. Once you get the hang of it though, winged liner becomes fast, flattering, and surprisingly simple.
Whether you are already comfortable with eye makeup or you are just getting started, this step by step guide will walk you through what winged eyeliner is, when to wear it, and exactly how to adjust your flick to your unique eye shape.
In this guide you will learn:
- What makes winged eyeliner different from a classic or cat eye.
- How to choose the right eyeliner formula so application feels easier.
- Simple steps to draw your wing, even if you are a beginner.
- Eye shape specific tips so your liner lifts and flatters your eyes.
Table of Contents
What Is Winged Eyeliner?
Winged eyeliner is an eyeliner technique that starts out just like regular liner along the top lash line, then extends past the outer corner of the eye into a pointy flick or “wing.” This extended tip creates a lifted, elongated effect that frames the eyes beautifully.
Winged liner is often confused with a cat eye look. A cat eye is actually a specific type of winged eyeliner. The liner is usually not too thick, and the extended tip is straighter and filled in to connect to the bottom lash line, creating a triangle shape. The liner then continues slightly along the outer part of the lower lash line for a more feline shape.
Classic winged eyeliner, on the other hand, usually stays only on the top lash line. The line extends past the outer corner and flicks up into a wing shape. It does not always connect to the lower lash line, and you can keep it thin and subtle or thick and dramatic.
When To Wear Winged Eyeliner
Winged eyeliner instantly adds a sultry, defined, slightly dramatic look. If you want to draw attention to your eyes, a wing will do that with just a few strokes of liner.
The purpose of winged liner goes beyond drama though. A well placed wing can visually enhance and improve the shape of your eyes. You can use it to make eyes look bigger and longer, to add more symmetry, or simply to add clean definition along the lash line.
 Back to Table of Contents ↑
Know Your Eye Shape
The key to mastering winged eyeliner is not perfection on the first try, it is understanding your eye shape. Once you know what you are working with, you can tweak the angle and thickness of your wing so it looks intentional on you.
- Almond eyes are oval shaped with a narrow, pointed inner corner and a slightly turned up outer corner.
- Round eyes look like doll eyes with a prominent crease and a visible white area around the iris on both top and bottom.
- Small eyes appear smaller compared to the rest of your features and have a smaller gap between lashes and brow bone.
- Close set eyes have a smaller gap between the inner corners of the eyes.
- Wide set eyes are the opposite, with a wider space between the inner corners.
- Upturned eyes tilt upward at the outer corners with a more noticeable lower lid than top lid.
- Downturned eyes dip downward at the outer corners, pointing slightly toward the cheekbones.
- Hooded eyes have a heavier brow bone and deeper crease, with an extra fold of skin that can cover the lid when eyes are open.
- Monolid eyes have little to no visible crease, so the lid appears as one smooth surface from lash line to brow bone.
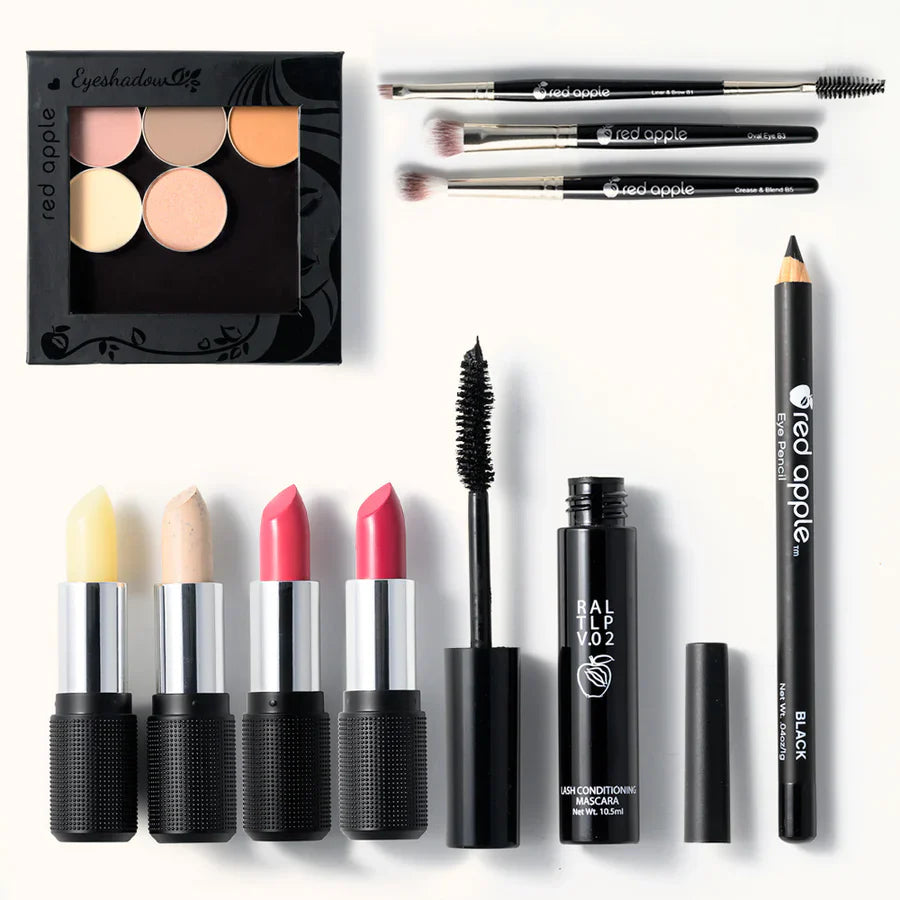
Choosing Your Eyeliner Formula
There are three main eyeliner formulas you can use for a wing: liquid liner, gel liner, and pencil liner. All three can work, but some are easier than others, especially when you are learning.
Liquid and gel liners are great when you want a super bold, graphic wing. They can look very crisp and dramatic, but they are often a bit messier and less forgiving, so beginners sometimes feel less in control with them.
Pencil eyeliner is usually easier to work with. It gives you more control and is very beginner friendly. Look for a pencil that is not too hard and not too soft. You want something creamy enough to glide on without tugging, but not so soft that it smears the moment you blink.
The Red Apple Lipstick Eye Liner Pencils are designed with that balance in mind. They are soft enough to apply smoothly, but firm enough to stay where you place them, and they are also hypoallergenic to help keep sensitive eyes comfortable.
Noemi’s suggestion: If you love the control of a pencil but still want a dramatic look, apply the black Red Apple Lipstick Eye Liner Pencil, then use an angled brush like the Vegan Angled Eye Brush to smooth and wing the line out. You can then deepen it by pressing the Black Magic eyeshadow right over the pencil for an intense, long lasting wing.
Back to Table of Contents ↑Step By Step: How To Do Winged Eyeliner
Once you have chosen your eyeliner formula, you are ready to create your wing. These steps are the general basic method and will work with liquid, gel, or pencil.
Step 1: Apply your eyeshadow or base
If you are wearing eyeshadow, start with that. Apply your eyeshadow primer, then add your chosen lid shades. For a simple look, you can apply primer and a single base color over the lid. Once your shadows are blended, it is time for liner.
Step 2: Line the upper lash line
Start at the inner or middle part of the upper lash line and apply eyeliner just as you would normally. Use small, thin strokes and keep close to the lashes. Once you have a fine line, go back and build it up to your desired thickness.
Step 3: Create the wing
Use your lower lash line as a guide for the angle. Imagine you are extending the line of the lower lashes upward toward the end of your brow. From that angle, draw a short line upward and outward from the outer corner of your eye. This is the tail of your wing.
Next, connect the tip of that line back to your upper lash line to create a small triangle shape. Fill it in, then adjust the thickness of your liner until both sides look as even as possible.


 Back to Table of Contents ↑
Winged Eyeliner Tips For Every Eye Shape
Once you understand the basic steps, you can fine tune your wing for your specific eye shape. Here are simple adjustments you can make for each one.
- Almond eyes: Start lining from the inner corner with a thin line and gradually build up thickness from the outer third of the eye. Extend your wing from the very tip of the outer corner and stop roughly where your natural crease begins, so the wing lifts without overpowering the lid.
- Round eyes: To elongate, start your liner about two thirds of the way across the lid from the inner corner and keep the inner portion bare or very thin. Flick the liner from the outer corner, aiming the tip toward the end of your brow. You can also start at the outer corner and work inward, stopping at the center of the lid to keep the shape more almond.
- Small eyes: To give the illusion of bigger eyes, try a double wing. Draw a regular wing on the upper lash line, then add a small flick on the lower lash line, just under the outer corner, angling slightly downward. Keep both wings short and clean so the effect stays lifting, not heavy.
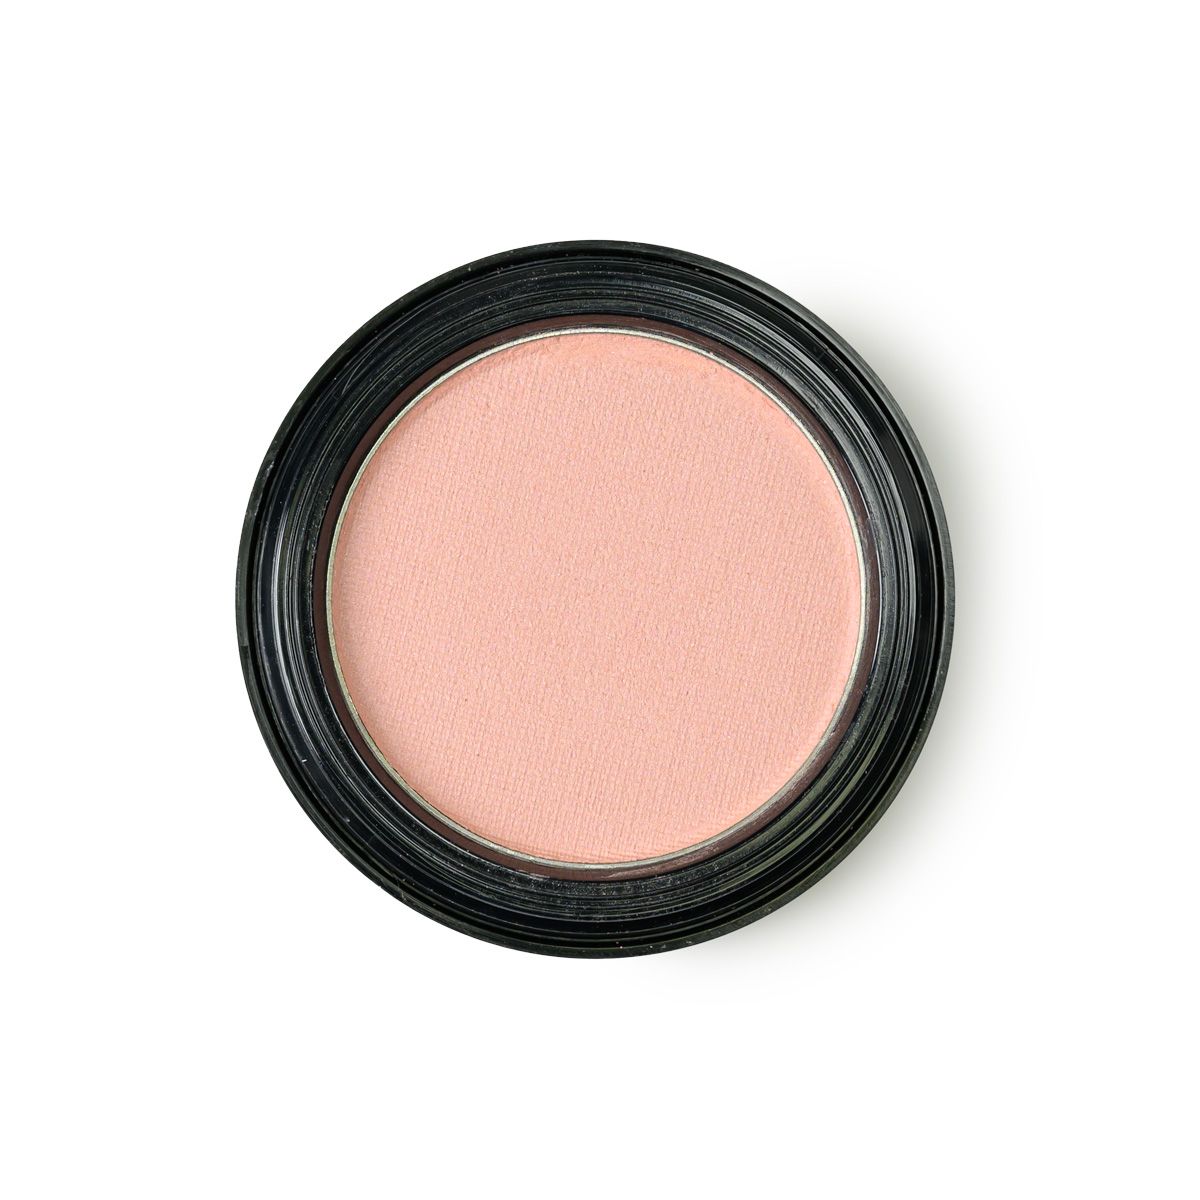
- Close set eyes: Start your liner at the outer corner and take it inward about three fourths of the way across the lid, keeping the inner corner free of dark liner. For the wing, extend your line outward from the outer corner, then connect it back to your lash line to form a small triangle and fill it in. To open the inner corners, add a highlight shade at the tear duct area using brightening shadows like Buttercream, soft champagne tones such as Champagne, the delicate glow of Innocence, or a soft shimmer like Sand Castle.
- Wide set eyes: Apply liner starting right at the inner corner and take it all the way across to the outer corner, keeping the thickness fairly even along the lash line. You do not need a long wing here. A small, upward flick at the outer corner is enough to define without pulling the eyes farther apart.
- Upturned eyes: Balance the natural lift by lining both top and bottom lash lines. Start with thin strokes, then slightly thicken the liner at the outer half of the lower lash line. Add a small wing to the upper liner and connect it gently to the lower line at the outer corner for a soft, lifted V shape.
- Downturned eyes: Begin with a very thin line at the inner corner and slowly thicken it toward the outer third of the eye. When you create your wing, angle it toward the end of your brow or your crease, not straight out, and avoid extending it past the tip of your brow. This keeps the eye looking lifted instead of droopy.
- Hooded eyes: With hooded eyes, the priority is making your liner visible when your eyes are open. Start by drawing the wing first, placing the tip where the hood begins. With your eyes open and looking straight ahead, draw your wing, then connect it back to the lash line. Keep your strokes thin at first, then slowly build up thickness until the liner shows above the fold.
- Monolid eyes: You can choose either a very thin, delicate wing or a bold, thick wing. For a thin wing, start in the middle of the upper lash line and draw small strokes outward, extending into a slim flick. Then go back and connect the line toward the inner corner. For a thick, dramatic look, repeat the same steps but keep adding layers until the lid is mostly covered and the wing looks strong and graphic.
Take your time with your liner. You do not have to rush. If the edges are uneven or you get a small smudge, use a cotton swab dipped in makeup remover or moisturizer to clean up the line. Cotton swabs are your best friend when you are perfecting a wing.

Winged eyeliner can look intimidating at first, but with the right formula, a little practice, and eye shape aware tweaks, it becomes a quick way to lift and define your eyes. Start small, clean up with a cotton swab if you need to, and before long your wings will feel easy and effortless.
Back to Table of Contents ↑Frequently Asked Questions
What is the point of winged eyeliner?
Winged eyeliner enhances and improves the shape of your eyes. It can make them look bigger and longer, add symmetry to your features, and give clean, defined focus along the lash line.
Is winged eyeliner still in style?
Yes, winged eyeliner remains one of the most popular eye makeup trends. From subtle daytime flicks to bold evening wings, it is a timeless technique that keeps coming back on runways and in day to day looks.
Do you apply eyeshadow before or after winged eyeliner?
Apply your eyeshadow first and then your winged eyeliner. Doing the shadow first helps keep your liner crisp and prevents your eyeshadow from dulling or smearing the wing you just created.
Which eyeliner is best for beginners who want a wing?
Pencil liner is usually the easiest place to start. A balanced, smooth pencil like the Red Apple Lipstick Eye Liner Pencils gives you control and forgiveness while you practice, and you can always deepen the look with a coordinating eyeshadow on top.

