

Blush Placement: A Guide for Every Face Shape and Mature Skin

Love your blush color, but wish it sat a little differently on your cheeks? A small change in blush placement can make your makeup look softer, more balanced, or more lifted. Start with a little color on the upper cheek, then adjust the direction to suit the look you want.
You do not need perfectly symmetrical features or a complicated face chart. This guide covers where to begin, how to adapt your placement for different face shapes and mature skin, and which Red Apple Lipstick shades can help you create your preferred finish.
Table of Contents
- Where Should You Place Blush?
- Blush Placement for Your Face Shape and Undertone
- Choose Your Blush Shade and Finish
- What Real Customers Are Saying
- How To Wear It: Makeup and Outfit Pairings
- Ingredient Love: Inside Our Blush and Bronzer
- Application Tips for Comfortable, Smooth Wear
- Common Mistakes to Avoid
- Blush Placement FAQs
Where Should You Place Blush?
For a versatile everyday starting point, place blush on the upper part of your cheek, slightly outward from its fullest area, and blend toward your hairline. Keep the strongest color on the cheek itself. Let the edges fade gently without carrying the blush into your under-eye area or down toward your mouth.
Find your cheekbone with a fingertip before picking up your brush. A small smile can help you locate the apples, which are the rounded, fleshy parts of your cheeks. Then relax your face and look straight ahead before deciding where the color should sit.
The direction makes a difference. For a lifted effect, try a short diagonal sweep along the upper cheekbone. For a rounded, softly flushed look, keep more color on the apples and blend outward. Neither placement is compulsory. Choose the effect you enjoy seeing in the mirror.
A brush that fits the area makes those small adjustments easier. Our Vegan Blush Brush has an angled shape and synthetic bristles, so you can place color along the cheek and soften its edges with the same tool.
Blush Placement for Your Face Shape and Undertone
Face shape charts are starting points for experimenting, not rules about which features need changing. Many faces combine characteristics from more than one shape. Choose the row closest to your features, try the suggested direction, and adjust it to your preference.
| Face shape | Where to begin | How to blend |
|---|---|---|
| Round | Start on the upper, outer cheek. | Use a short diagonal sweep toward the temple if you want more visible cheekbone definition. |
| Oval | Begin just above the fullest part of the cheek. | Blend outward along the cheekbone. Try a slightly rounder shape when you want a softer flush. |
| Square | Place a little color on the upper apple. | Soften it into a rounded oval if you want gentle color beside a more angular jaw. |
| Heart | Begin on the apple and the cheekbone just beside it. | Blend outward, keeping most of the color on the cheek if you prefer less emphasis at the temples. |
| Long or oblong | Start around the center of the cheek. | Try a soft, mostly horizontal sweep toward the ear to emphasize width across the cheeks. |
| Diamond | Begin on the rounded cheek, just inside its widest point. | Blend softly outward without concentrating all the color on the outermost cheekbone. |
Let undertone guide your shade choice
Placement determines where the color sits. Undertone helps you choose the color you want there. As a starting point, try pink or rosy mauve with cool undertones and peach or apricot with warm undertones. Neutral undertones can experiment across both families. These are styling suggestions, so your favorite shade gets the final vote.
Skin depth also matters. A pale pink can look delicate on fair skin but may not create the same visible contrast on deeper skin. Compare a richer option such as Good Vibes, our warm tangerine blush, before compensating with many layers of a very light shade.
Fast pointers
- Choose the effect first: lifted, softly rounded, or gently widened.
- Judge placement with your face relaxed and your mirror at eye level.
- Compare the shade in daylight before adding more product.
 Return to Table of Contents ↑
Choose Your Blush Shade and Finish
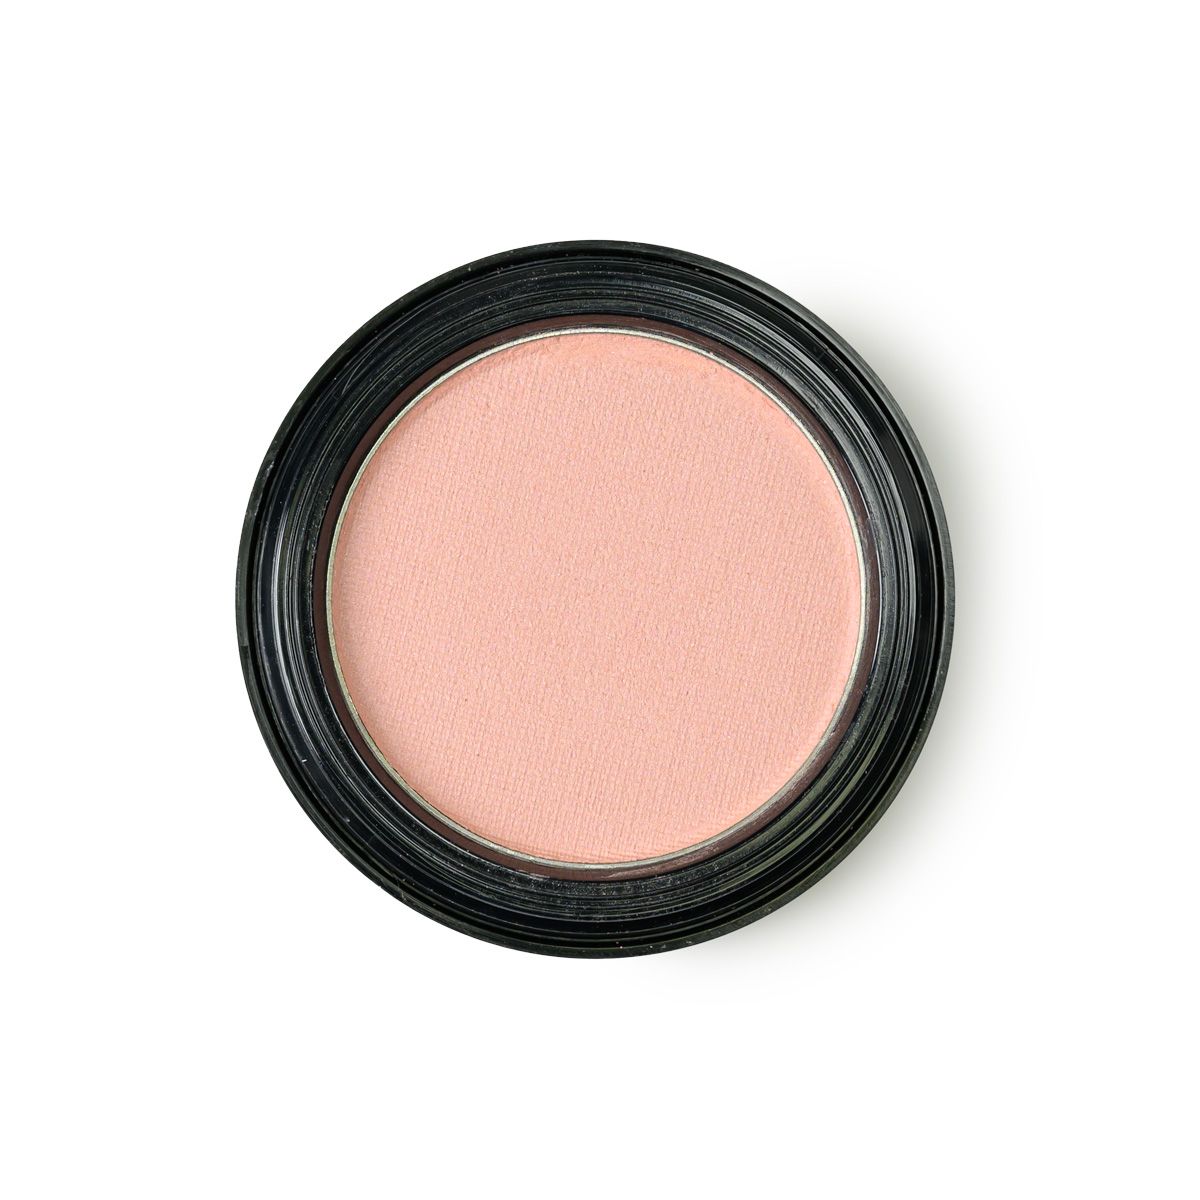
Once you have a placement to try, choose a finish you enjoy. Matte blush is a useful option when you prefer color without added shimmer. A luminous finish suits a look with a little reflected light. Tap a card below to compare swatches, product details, and customer reviews.


What Real Customers Are Saying
Wondering how a shade looks beyond the swatch? These short excerpts come from verified buyer reviews of Gotta Glow on its product page. Both customers gave it five stars.
"This blush provides flawless color that looks natural"
Read Kimberly's full review on the product pageYour shade, skin preparation, and application can affect the result. Use the reviews alongside swatches to decide which finish you would enjoy wearing.
Return to Table of Contents ↑How To Wear It: Makeup and Outfit Pairings
- For an easy everyday look: Pair a soft, outward blend of M'Lady with neutral eyeshadow, a rosy lip, and a cream blouse or your favorite denim.
- For fresh pink cheeks: Try Dolly with softly defined lashes, pink lip color, and navy, gray, or cool pastel clothing. Keep the cheek edges diffused.
- For a warm weekend look: Pair Coy or Tango with bronze eye makeup, a peachy lip, and olive or warm beige clothing. Choose a rounded or lifted placement to suit your mood.
- For a little evening brightness: Try Gotta Glow on the upper cheeks with softly defined eyes and a satin lip. Check the effect in your evening lighting before building the color.
Blush and bronzer placement: Give each one a purpose
Blush adds cheek color, while bronzer adds a warmer tone. If you use both, begin with a light application of Sundrop Bronzer, our matte bronzer, around the temples and outer cheeks. Then place blush slightly farther forward where you want the flush to show.
Let their edges meet softly without repeatedly sweeping both products over the same area. If you want a more sculpted look, concentrate the blush on the upper cheek and keep the bronzer subtle. You can also wear blush alone.
Return to Table of Contents ↑Ingredient Love: Inside Our Blush and Bronzer
Knowing what is in your cheek color can make choosing it simpler. These blush and bronzer ingredient lists contain no talc. They combine color ingredients with components that contribute to the finished powder formula.
Blush: Iron Oxides, Mica, Titanium Dioxide, Octyldodecyl Stearoyl Stearate*, Zinc Oxide, Silica, May Contain: Ultramarines.
Bronzer: Mica, Titanium Dioxide, Vegan Octyldodecyl Stearoyl Stearate, Zinc Oxide, Silica, Ultramarines, Iron Oxides.
- Iron Oxides and Ultramarines: These color ingredients help create cosmetic shades. Both appear in the FDA's list of color additives permitted in externally applied cosmetics. Ultramarines are listed as a possible ingredient in the blush formula.
- Octyldodecyl Stearoyl Stearate: CosmeticsInfo, published by the Personal Care Products Council, describes this ingredient's skin-conditioning role in cosmetics. The bronzer list specifies a vegan version.
- Mica, Titanium Dioxide, Zinc Oxide, and Silica: All four appear in both formulas. An ingredient list alone does not tell you whether a shade looks matte or luminous, so compare the individual finish descriptions and swatches above.
If your skin reacts easily, compare the current product label with ingredients you already know you tolerate. The FDA explains that "hypoallergenic" has no federal definition, so that wording should not replace checking the formula for your own sensitivities.
Return to Table of Contents ↑Application Tips for Comfortable, Smooth Wear
For powder blush, aim for a settled base and light layers. You can apply it over foundation or on prepared bare skin. Start with the smallest amount that gives you a visible change.
- 1. Let your base settle. Apply your usual skin care and daytime sunscreen, then allow the surface to settle before makeup. If you wear foundation, avoid dragging powder blush over a wet or sticky layer.
- 2. Pick up a little color. Lightly touch the brush to the pan and tap off excess. You can load the brush again after checking the first layer.
- 3. Place, then blend. With your face relaxed, gently pat color onto your chosen cheek area. Use short, soft strokes to diffuse it in your preferred direction.
- 4. Soften the edges. Use a clean brush to blur the boundary. Keep most of the color in the area you chose instead of widening it with every pass.
- 5. Step back and compare. Look at your whole face in even light. Add a small amount only where needed, allowing for the natural differences between your cheeks.
Blush placement for mature skin
If your old placement now feels lower than you like, try starting slightly higher on the cheek with your face relaxed. A broad smile changes the position of the apples, so check again after you stop smiling. Keep the color below the under-eye area and soften the outer edge.
Use a light touch over areas where makeup tends to collect. If shimmer draws attention to texture you would rather soften visually, compare a matte option such as M'Lady blush. Mature skin does not require one finish or formula; the goal is a result you like at a comfortable amount of coverage.
Keep your tools fresh, too. The American Academy of Dermatology recommends washing makeup brushes every 7 to 10 days. Follow the brush's care directions and let it dry completely before your next powder application.
Return to Table of Contents ↑Common Mistakes to Avoid
If your blush looks patchy, too low, or heavier than expected, adjust one thing at a time. Start with the issue on the left and try the matching fix on the right.
Blush Placement FAQs
1. Where should blush go for a lifted look?
Try the upper, outer part of the cheekbone and blend diagonally toward the temple. Keep the strongest color on the cheek and fade the edges. Check the result with your face relaxed so the placement suits your features at rest.
2. What is a good blush placement for a round face?
For more visible cheekbone definition, start on the upper, outer cheek and blend in a short upward direction. If you prefer a softly rounded flush, apply nearer the apples. A round face can wear either effect.
3. How should I apply blush to mature skin?
Begin with a settled base, a light amount of product, and a relaxed expression. If the color looks lower than you want, move the starting point slightly higher. Blend gently, and compare matte and luminous finishes according to your preferences.
4. Should I smile when applying blush?
A small smile can help you find the apples of your cheeks. Relax your face before placing the color, then smile again to check how it looks in motion. This lets you assess both your resting expression and your smile.
5. Does blush go before or after bronzer?
Either order can work. For a simple routine with powder formulas, apply bronzer first to establish subtle warmth, then add blush where you want cheek color. Use light layers and a clean brush to keep the colors distinct.
Quick recap
- Start with a small amount on a relaxed face and choose your blending direction intentionally.
- Use face shape, skin depth, and undertone as starting points while keeping your preferred effect in mind.
- Build thin layers, soften the edges, and check your whole face before adding more.
Ready to try a softly luminous cheek? If peach and pink are your favorites, start with a light layer of Gotta Glow in your chosen placement. Compare its swatches, then build the color to a finish that feels like you.
Return to Table of Contents ↑