

Step By Step Ombre Eyeshadow Tutorial For A Perfect Gradient Eye | Red Apple Lipstick
Have you heard of the ombre eyeshadow look that makeup artists also call “the gradient” eye? This easy tutorial walks you through blending three shadows from light to dark so your lid has a smooth, eye catching fade instead of harsh color blocks.
Ombre eyeshadow is playful, flattering, and simple enough for everyday wear once you understand where each shade goes and how to blend them together. In this guide, you will follow a Very Peri inspired look using talc free, sensitive eye friendly shadows.

Table of Contents
What Is Ombre Eyeshadow Or The Gradient Eye Look
There are two main ways to create an ombre eyeshadow or gradient eye look. Both use three shades that move from light to dark across the eyelid for a soft, seamless fade.
Version 1 uses three coordinating colors that are not in the same exact family: a light, a medium, and a deeper shade. These are blended together from the inner corner to the outer corner in a smooth gradient.
Version 2 keeps things monochromatic. You choose three shades from the same color family, again from lightest to darkest, and blend them across the lid from inner to outer corner.
If you enjoy experimenting with color, ombre eyeshadow is a great way to add a pop without losing that soft, diffused edge that makes your makeup look polished.
Why You Will Love This Ombre Eyeshadow Technique
- Softly defines your eyes without harsh lines.
- Lets you play with color while still looking wearable.
- Works with both all matte and all shimmer finishes.
- Easily adjusted for everyday looks or bolder evening makeup.
- Looks especially smooth with talc free shadows that blend well.
If you want more ways to apply eyeshadow beyond the classic wash of color, you can also explore this guide on seven different ways to apply eyeshadow and add the gradient technique to your toolkit.
How To Do The Ombre Eyeshadow Look - Quick Steps
Here is the ombre application summarized before we dive into the full Very Peri tutorial.
- Step 1 - Prime the lids and apply a base shade all over.
- Step 2 - Place the lightest eyeshadow on the inner third of the lid.
- Step 3 - Apply the medium shade on the middle third, blending into the lighter shade.
- Step 4 - Add the darkest shade on the outer third, blending into the medium color.
To finish, you will use a soft matte crease shade to smooth the edges, and then add liner and mascara to frame the eyes.
Step By Step Very Peri Ombre Eyeshadow Tutorial
This step by step look uses Red Apple Lipstick products and is inspired by 2022’s color of the year, Very Peri. You will combine neutral taupe and warm brown with violet and wine shades for a pretty purple ombre eye.
Step 1 - Prime The Lids And Apply A Base Color
Start by prepping your eyelids with Prime Time Eye Shadow Primer. Apply a tiny amount from lash line to brow bone and let it dry for a couple of minutes. Set it with a touch of setting powder to make blending smoother.
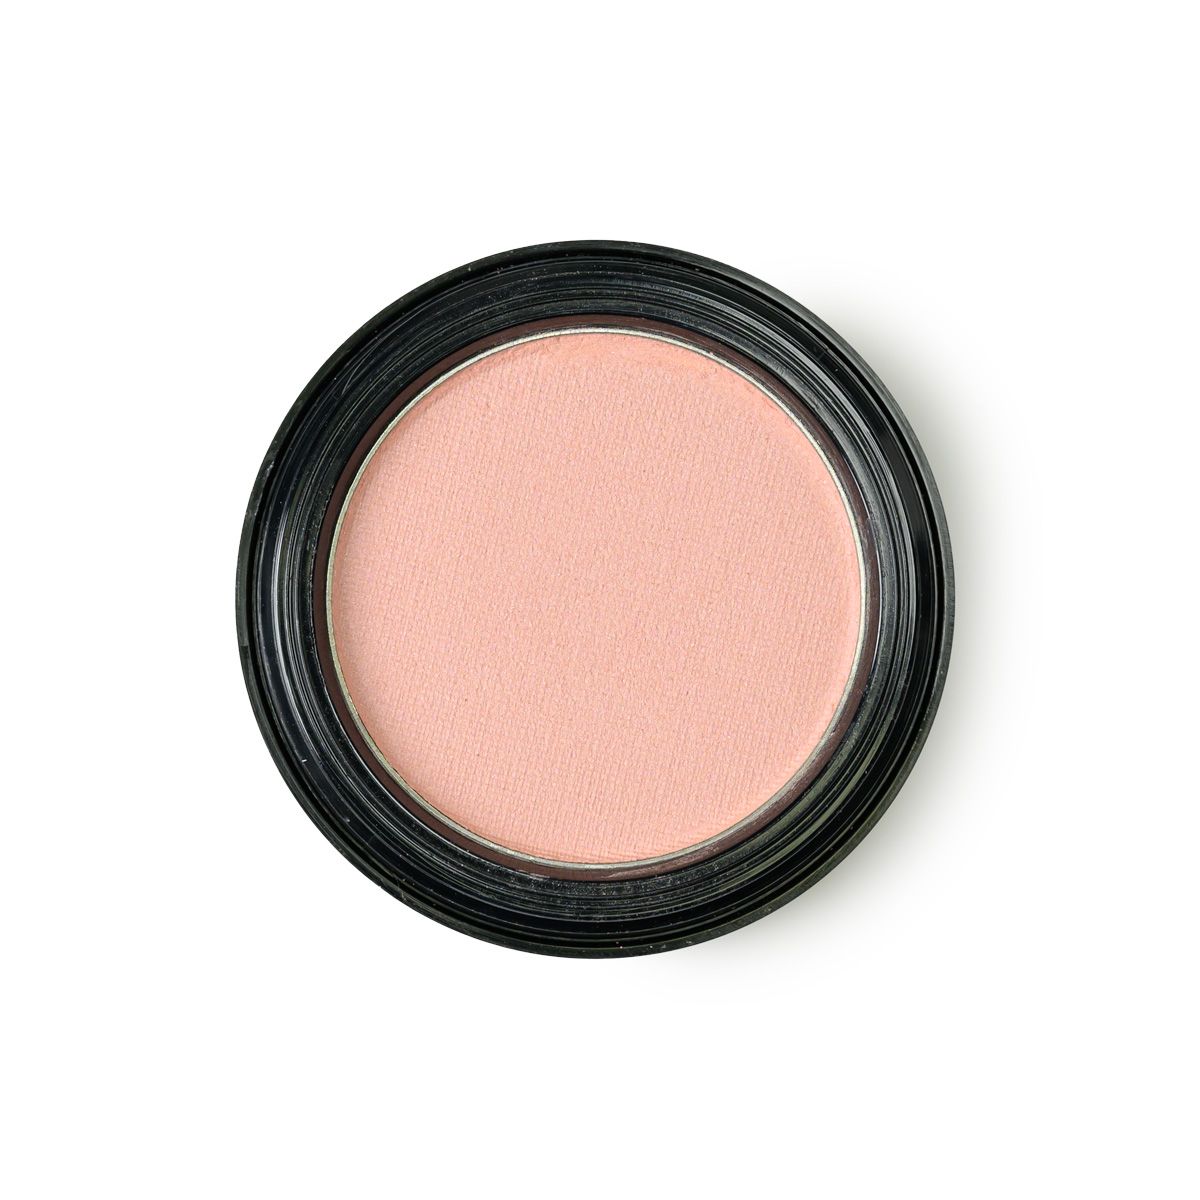
Next, apply a base color on the lids. Using the Wet Dry Eye Brush, sweep Porcelain eyeshadow all over the lid up to the brow bone. If Porcelain is too light for your skin tone, choose another shade from the talc free eyeshadow collection that is closer to your complexion.

Step 2 - Place The Inner Third Shade
Using the Wet Dry Eye Brush, apply Iced Mocha on the inner third of the lid. Lightly sweep the same shade on the brow bone to act as a soft highlight.

Step 3 - Add The Middle Third Shade
Next, press Violet Vixen eyeshadow onto the middle third of the lid. Gently blend the edge where Violet Vixen meets Iced Mocha so the transition looks soft and seamless.

Step 4 - Deepen The Outer Third
On the outer third of the lid, apply Vamp eyeshadow. Blend lightly where it meets Violet Vixen so the darker shade melts into the middle shade instead of forming a hard line.

Step 5 - Blend The Crease
To smooth the edges, use the Crease and Blend Brush with Yes You Canyon. Apply it in the crease and slightly above with windshield wiper motions, blending across the entire crease area for a diffused finish.

Step 6 - Define The Bottom Lash Line
For a balanced look, take either Yes You Canyon or Vamp along the bottom lash line. This step ties the top and bottom of the eye together and adds soft definition.

Step 7 - Line The Eyes
Line your eyes with Black Magic eyeshadow using the Angled Eye Brush. You can create a wing for more drama or simply darken the lash line for a softer look.

Step 8 - Finish With Mascara
To complete the look, apply one to four coats of mascara such as The Lash Project, depending on how bold you want your lashes to be.

- Prime and set the lids for smooth blending.
- Place light, medium, then dark shades from inner to outer corner.
- Soften the edges with a matte crease color.
- Add liner and mascara to frame your new gradient eye.
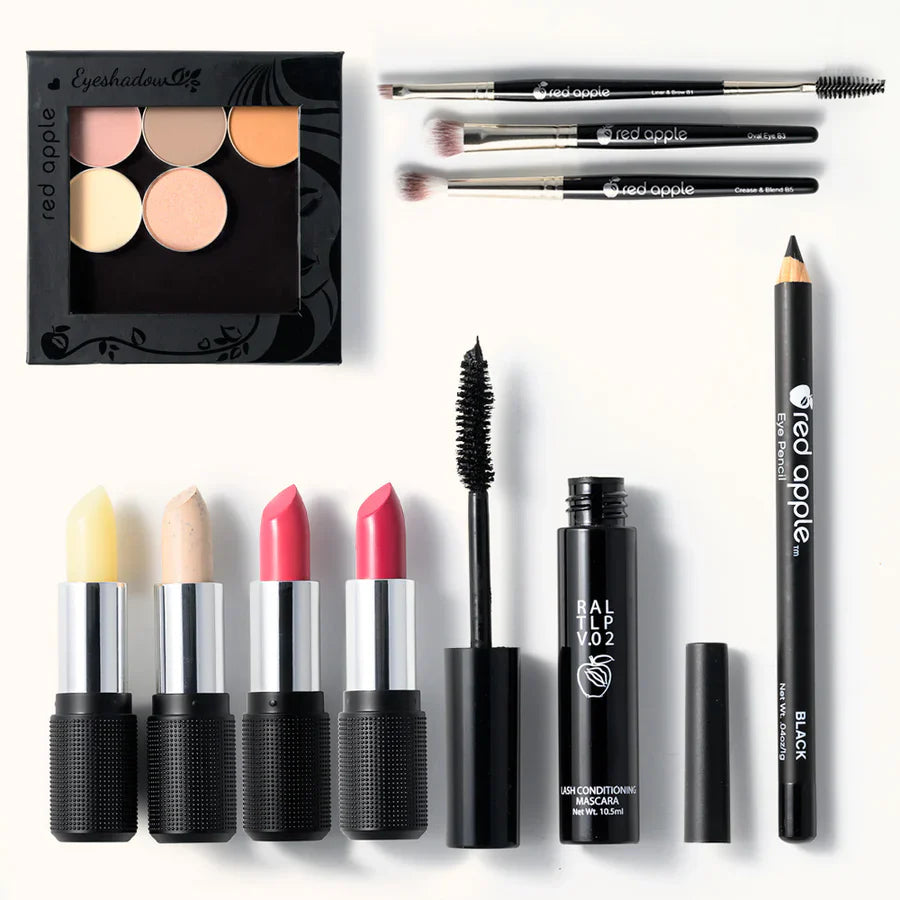
Red Apple Lipstick Products Used For This Look


Frequently Asked Questions
What does ombre mean in makeup?
In makeup, ombre refers to the blending of one color into another, usually from lighter to darker. With eyeshadow, that means your shades fade smoothly instead of stopping abruptly.
What is ombre eyeshadow?
Ombre eyeshadow is an eye look where shadows are applied from the lightest to the darkest shade across the lid and then blended together to create a smooth gradient with no harsh lines.
Can I wear ombre eyeshadow as an everyday look?
Yes. Keep your colors softer and more neutral for daytime, and apply thinner layers. For evening, you can intensify the medium and dark shades for a more dramatic gradient.
Do I need special brushes to get a smooth ombre blend?
Good brushes make blending easier. A flat shader brush, like the Wet Dry Eye Brush, and a soft crease brush, like the Crease and Blend Brush, will help create a smoother gradient with less effort.