

How To Turn Powder Blush Into Cream Blush For Dry Skin | Red Apple Lipstick
If you have dry, dehydrated, or combination skin, you know powder can sometimes make things look flaky by the end of the day. Blush that looked soft in the morning can cling to dry patches later and that tight, uncomfortable feeling is no fun at all.
I love the way a good powder blush can look on the right day, but on my driest days a creamy, slightly dewy cheek just looks smoother and fresher. That is what inspired this little experiment.
Using one of our talc free powder blushes, I tested three simple mixes to see what actually works for turning powder into a cream or mousse texture you can tap on to your cheeks.
Table of Contents
Your quick takeaway
- Mixing talc free powder blush with facial oil or moisturizer can create a soft cream finish that loves dry and combination skin.
- Water did not work, but face oil and moisturizer both created beautiful textures with different finishes.
- Below you will find easy steps, application tips, and shade ideas so you can try this safely at home.
Why Turn Your Powder Blush Into A Cream
Powder blush is quick, buildable, and usually very forgiving. Our talc free formulas are finely milled, so they blend into the skin instead of sitting on top. Still, on very dry days even the best powder can draw attention to flakes or texture.
Turning your favorite shade into a cream or mousse gives you the best of both worlds. You keep the beautiful color payoff of powder but gain the flexible, skin hugging finish of cream. This can make cheeks look smoother and more hydrated, especially in harsh weather or on mature skin.
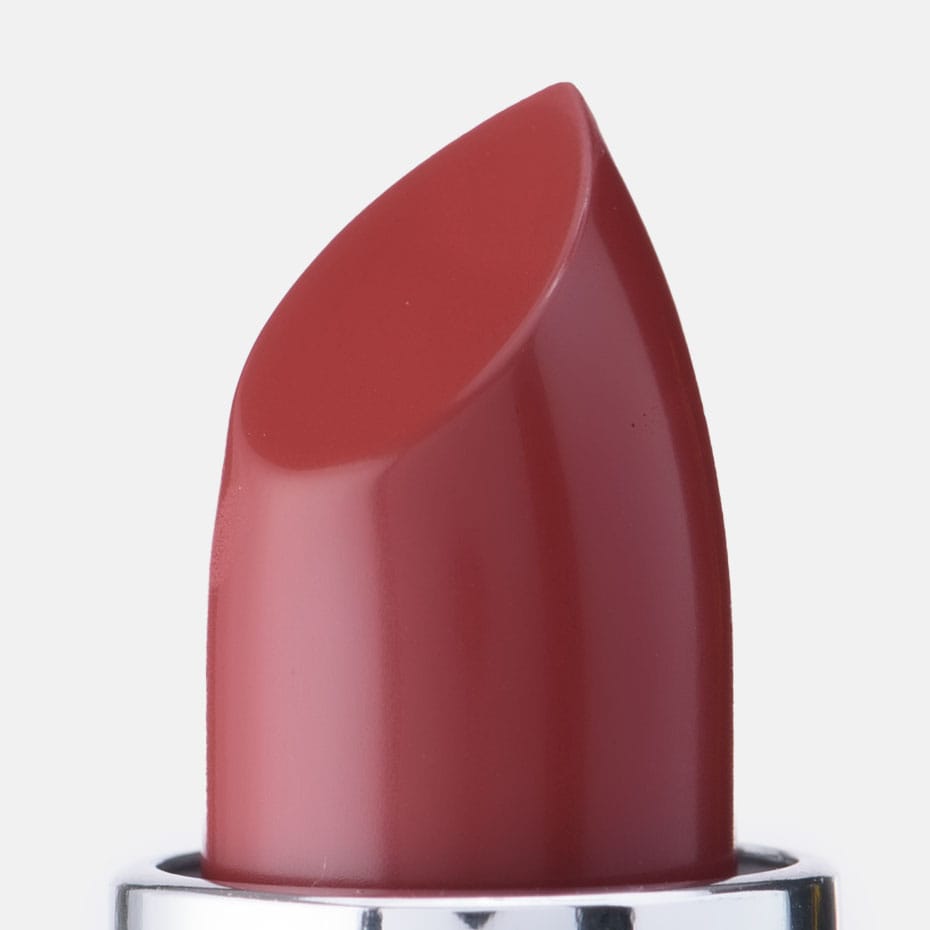
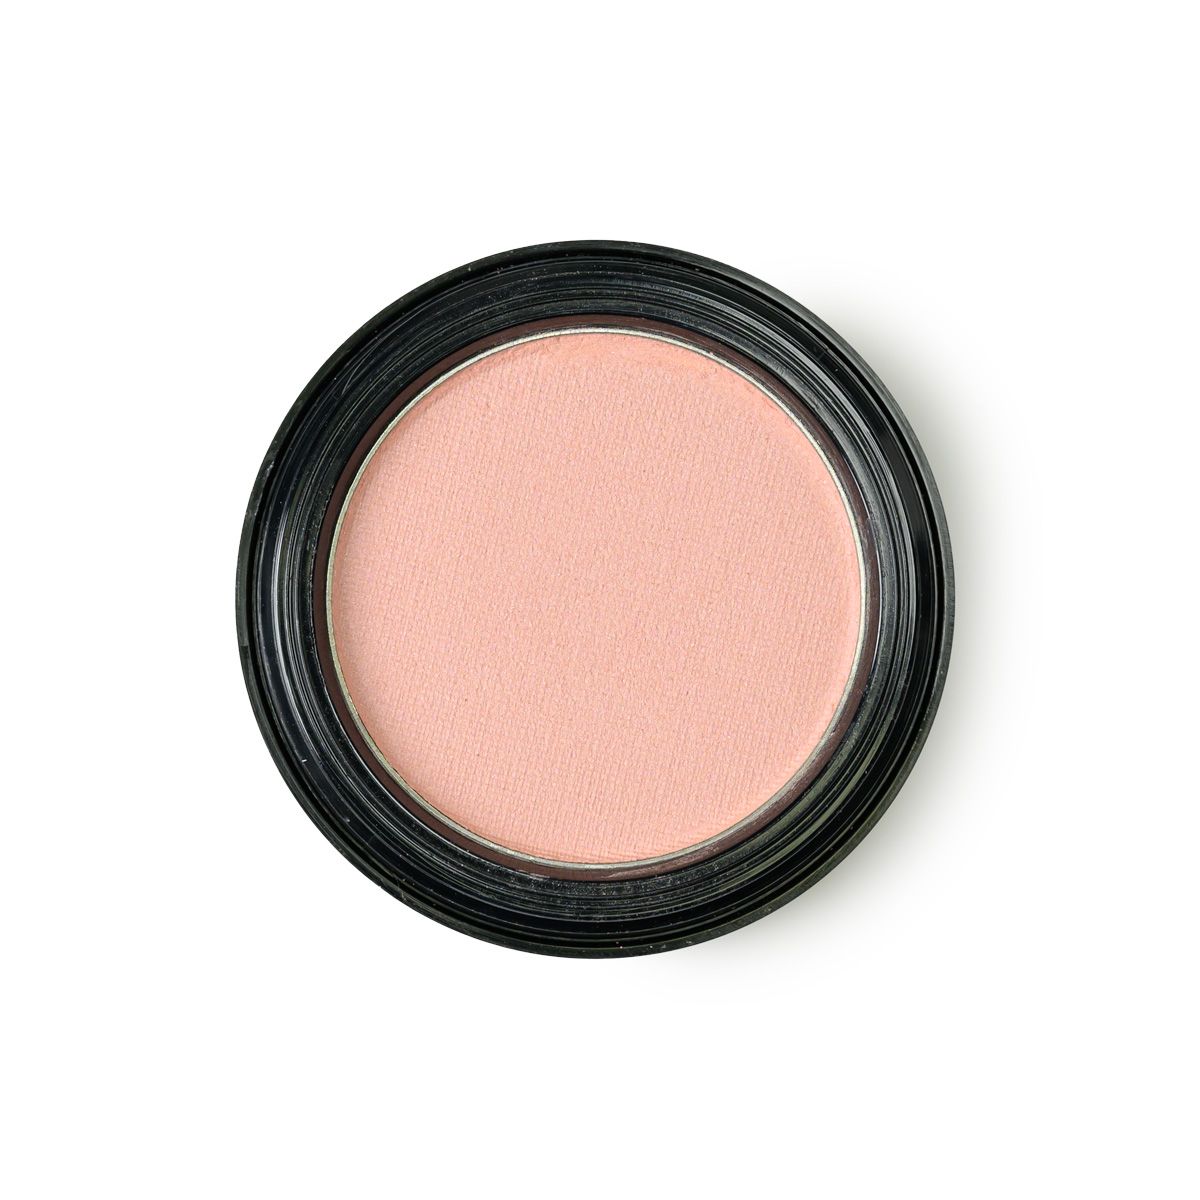
For this experiment I used our Gotta Glow talc free blush for sensitive skin, a soft, glowy shade that already looks natural on the cheeks. Below you will see what happened when I mixed it with water, facial oil, and moisturizer.
Blush Mixing Tests: Water, Oil, And Moisturizer

Test 1: Blush + Water
First I mixed the blush with a water based facial mist. I wanted to see if a simple, water only mix could create something creamy.
As the water evaporated, the mix turned right back into dry powder. In fact, it felt even drier than the blush in the pan. There was no slip, no cream, and nothing that felt good enough to tap onto my cheeks.
Verdict: blush mixed with water does not create a nice cream finish. This combo might work as a loose eyeshadow if you really wanted, but I would rather use the pressed blush on its own.
Test 2: Blush + Facial Oil
The second test was mixing the blush with a lightweight facial oil. This time the powder melted right in and turned into a smooth, serum like liquid.
The color looked very bold on the back of my hand, which felt a little scary at first. Once I tapped a small amount onto my cheeks, though, it blended out into a soft, glowy flush. You need much less than you think.
On my skin it did not feel greasy or heavy. It felt like I had applied a tiny bit of skincare that just happened to be tinted. If you choose an oil that is meant for the face, this can be a lovely option for drier or more mature skin types.
Test 3: Blush + Moisturizer
The last test was the mix that inspired this whole idea: blush plus moisturizer. This combination took a little more effort to blend, but the result was worth it.
The powder did not melt into the cream as quickly as it did with oil. After a bit of mixing, it turned into a light, whipped texture that felt almost like a mousse. It still blended easily on the skin, but you do need to move a little faster as it sets.
On my cheeks the color looked just a touch deeper than the oil version. My guess is that moisturizer sits a bit more on top of the skin while oil sinks in, so the blush stays more visible. The finish looked creamy and soft rather than shiny.
If you prefer to watch this in motion, you can also see how the textures change in the video version on YouTube.
How To Make Your Own Cream Blush
Once you are ready to try this yourself, here is a simple step by step guide. You can mix on the back of your hand, on a small mixing palette, or on a clean ceramic plate.
- Use a clean spatula or the end of a brush to scrape about a dime size amount of your blush onto your mixing surface.
- For an oil base, start with a single drop and blend it into the powder. Add one drop at a time until you reach a smooth, glossy liquid that still has good color.
- For a moisturizer base, use about equal parts powder and cream, or slightly less cream. Work the mix together a bit longer until it looks whipped and airy, like a light mousse.
- When the texture looks smooth with no dry clumps, you are ready to apply. If it looks streaky or chunky, keep mixing until it is even.
You can create just enough for one use, or a slightly larger amount if you are doing your own makeup plus a friend or family member. I like to mix a small fresh batch so it feels clean and custom each time.
How To Apply And Blend Your Cream Blush
There are a few easy ways to apply this new cream or oil based blush. Start with less product than you think you need and build up slowly.
- Place one or two small dots of color on the apples of your cheeks, starting about two fingers away from the sides of your nose.
- For more precision, use our vegan blush brush to gently tap and sweep the color toward your temples.
- If your skin is very dry, try pressing the color in with a damp makeup sponge using a light dabbing motion so you do not disturb dry patches.
- Blend until there are no harsh edges and the color fades softly into your foundation or bare skin.
- If you want more color, add a tiny bit at a time and repeat the blending steps instead of adding a lot at once.
I find that tapping and pressing motions work better than strong swirling on dry skin. A gentle, layered approach gives cheeks a smoother look and helps keep the glow in place for longer.
Best Red Apple Blushes And Bronzer For This Trick
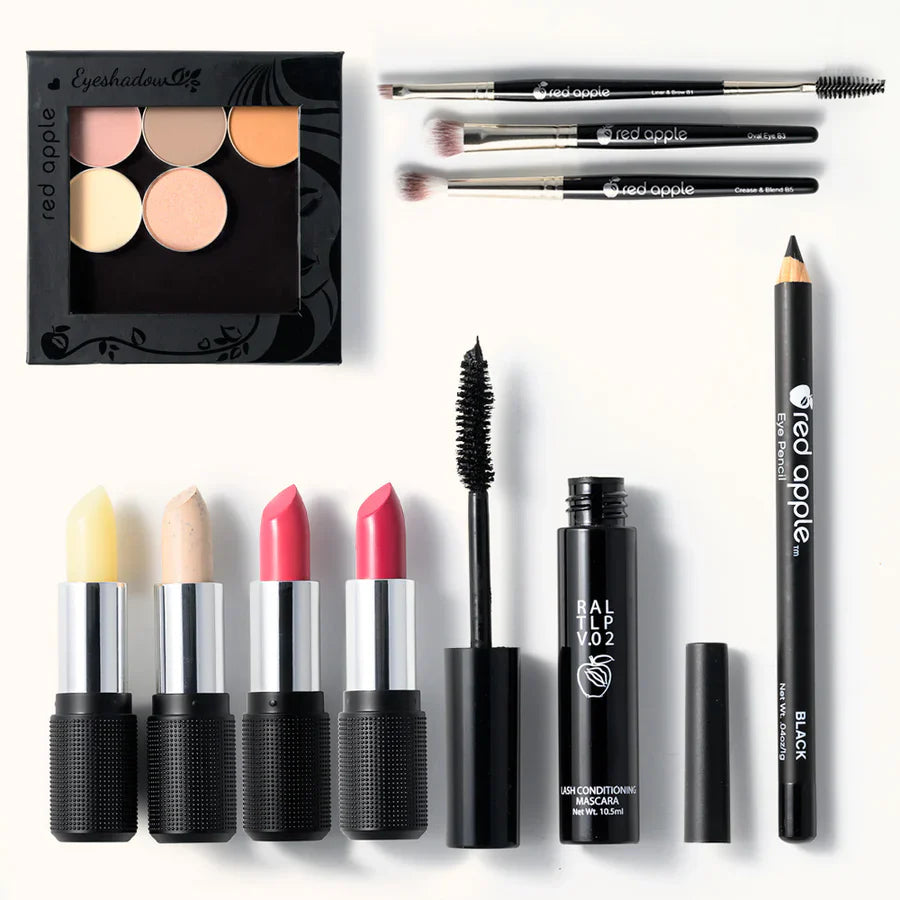
You can try this technique with any of our talc free blushes, but some shades are especially fun in a cream or mousse finish.
For a soft, lit from within glow, start with Gotta Glow. Mixed with oil or moisturizer, it gives cheeks a gentle sheen that brightens the whole face.
If you love classic pink cheeks, try turning Dolly or Coy into cream blush. Both look sweet and natural when sheered out with a little moisturizer.
For a more neutral, softly polished look, reach for M'Lady or Good Vibes. These shades make great everyday creams that go with almost any lipstick.
If you want a lively pop of color, Tango mixed with oil creates a bright, cheerful flush that you can keep soft or build up for more impact.
For warmth and a sun kissed effect, you can even use this technique with our Sundrop Bronzer. Turning it into a cream lets you tap color along the tops of the cheeks, bridge of the nose, and hairline for a believable, healthy glow.
FAQs
Can I use any powder blush for this technique?
You can technically mix any powder blush with oil or moisturizer, but finely milled, talc free formulas tend to blend more smoothly and feel more comfortable on dry or sensitive skin.
Is this safe for sensitive or reactive skin?
If your skin is sensitive, always patch test on a small area first. Stick with moisturizers and facial oils that already work well for you and keep your mix fresh rather than storing it for a long time.
How much oil or moisturizer should I add?
Start small. One drop of oil or a pea size amount of moisturizer is usually enough for the amount of powder you scrape out. You can always add a little more if the mix is too thick.
Will cream blush made this way last as long as powder?
Wear time depends on your skin type and base products. On many dry and combination skins, this method wears as long as powder because it moves with the skin instead of sitting on top. You can always set the edges with a light dusting of powder if you like.