

How To Shape Your Eyebrows At Home | Brow Grooming Tutorial For Beginners
In this first Brow 101 video tutorial, you will learn how to shape and groom your eyebrows right from home. With just a few simple tools, tricks, and tips, you will be able to trim, pluck, shape, and contour your brows so they look polished and naturally lifted.
If you are a beginner, this step by step eyebrow tutorial will give you everything you need to feel confident. If you have been shaping your brows for years, you may find a few tweaks that let your natural brow shape come to life again.
Table of Contents
Why Your Eyebrow Shape Matters
Brows are one of my favorite tricks for looking more youthful. As we celebrate more birthdays, brows naturally thin. Years of tweezing and waxing can also weaken the hair follicle, which slows regrowth and sometimes stops it completely.
An overly thin brow, sparse brows, or very unkempt brows can make you look older than you are. When you reveal and refine your natural brow shape instead, your eyes look more awake, your features look lifted, and your whole face appears more polished.
In this tutorial, and in Part 2 (How To Fill In Your Eyebrows), you will learn how to reveal your natural brow shape and bring it to life in a way that feels modern and refined.
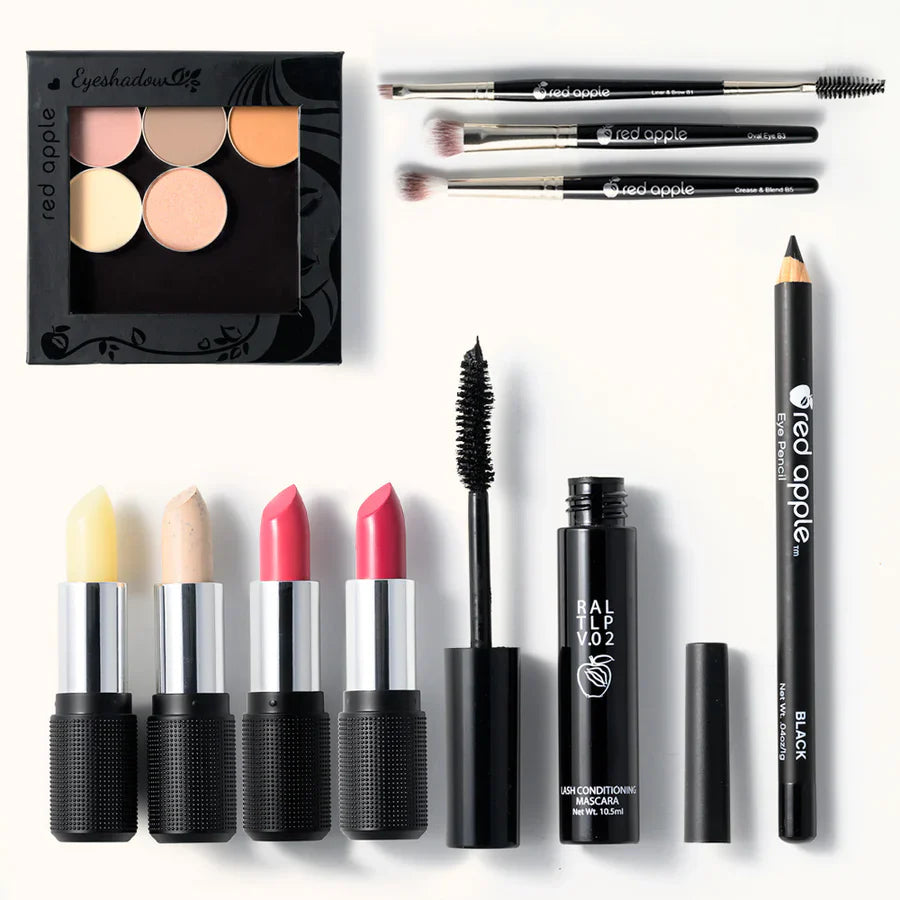
The Tools You Will Need To Shape Your Brows
Quick brow tool checklist
- Tweezers
- Small scissors
- Spoolie brush or clean mascara wand
- Marking tool (like a brown eyeliner pencil)
- Ice pack or cold compress if plucking feels uncomfortable
Tweezers

Any brand of eyebrow tweezers will work well. A slant tip style makes precise plucking easier and helps you grab fine, light hairs in one go. Use your tweezers as both a hair removal tool and a straight edge when you are marking where your brows should start and end.
Small Scissors

Tiny scissors, like hair cutting scissors, keep trimming precise and foolproof so you can snip one unruly, wiry hair at a time. The thinner the blade, the more control you have. If you only have regular scissors, you can still follow along, just work slowly and carefully so you do not cut too many hairs.
Spoolie Brush

The Red Apple Lipstick Vegan Angled Eyebrush with Spoolie is a handy multipurpose tool. The spoolie end brushes your brows into place so you can see your natural shape and spot longer hairs that may need a trim.
Marking Pencil

A soft brown eyeliner makes an ideal marking tool. Our Hypoallergenic Eyeliner in the shade Cocoa works beautifully for drawing light guide marks that wipe away easily after you finish grooming.
Ice Pack
An ice pack or even a bag of frozen peas can make plucking more comfortable. Gently cool the brow area right before you begin and again afterward to help reduce inflammation and any redness that may pop up.
How To Actually Shape Your Eyebrows
Step 1 - Mark the inner points of your brows
Flatten your tweezers to create a straight line. Place them vertically against the bridge of your nose. Wherever that line meets your brow is the furthest in your brows should start. Many of us are surprised by how much further in the brows should actually come. Mark that point with a dot of eyeliner on each brow.
Step 2 - Mark the outer points of your brows
Using the tweezers again, lay them on a diagonal. One end sits on your nostril, angled up through the outer edge of your eye and then up to your brow. Mark a dot with eyeliner where the tweezers meet your brow. That is how far out your brows should extend toward your temples.
Step 3 - Mark where the arch should be
There are a few guidelines. Choose the one that looks most natural for you.
- The arch is typically about two thirds of the way into the brow.
- You can look at the top of your brow and mark underneath the highest point.
- Look straight in the mirror and mark directly above the outside of your iris.
Step 4 - Brush brows up and out, then tweeze in this order
- Tweeze in between the inner points.
- Tweeze any hairs beyond your outer mark toward the temples.
- Tweeze hairs below the lower edge of your shape toward the lash line, leaving as many hairs as you can for fullness.
- In the arch area, start closest to the eyelid and work toward the arch, but stop early so you do not overpluck.
- Clean up any stray hairs on the eyelid area that sit well below the brow line.
Step 5 - Even out the bottom in the center
- Hold flattened tweezers parallel across the bridge of your nose.
- Tweeze the side that sits lower so the two brows line up more evenly.
- If you want your eyes to look more open, you can very slightly raise the overall level of your brows by tweezing small bits on each side. Step back often and look at your face in the mirror with relaxed eyes rather than staying very close up.
Step 6 - Brush brows up, then trim long hairs
- Brush the brows up and out with your spoolie.
- Trim one hair at a time so you stay in control.
- Snip each hair downward at a slight angle instead of straight across so it blends in softly.
- Work from the inner corner toward the tail of the brow, brushing up between each snip.
- Most people only need to trim a few hairs, so avoid getting scissor happy.
Watch the video at the top for a quick visual demonstration of each step, then finish shaping after you fill your brows in during Part 2.
For your next step, head to Part 2 - How To Fill In Your Brows. You will finish shaping after you see how your filled in brows look, which helps you keep as much natural structure as possible.
Try not to pluck every hair around sparse areas. Leaving a few extra hairs near the arch and throughout the brow gives you more to work with when you fill in, so you do not have to draw in as many lines with a pencil.
Eyebrow Shaping FAQs
How often should I shape my eyebrows at home?
Most people find that a light tidy every one to two weeks keeps brows looking groomed without overplucking. A bigger reset session once a month is usually enough after you have your basic shape in place.
What if I accidentally overpluck my brows?
If you overpluck, pause tweezing and let the hairs grow back for a few weeks. In the meantime, use Part 2 of this series to learn how to softly fill in your brows so they still look full and balanced while you grow them out.
Do both eyebrows need to match perfectly?
Brows are sisters, not twins. Aim for a similar starting point, ending point, and arch height, but do not chase perfectly identical brows. Tiny differences look natural and are rarely noticeable to anyone else.
Why do my brows look uneven even when I follow the guide marks?
Uneven brows are often caused by facial asymmetry or by raising one brow while you work. Keep your face relaxed, step back from the mirror often, and use your tweezers as a straight edge across the bridge of your nose to check the bottom line.
Can I just trim and skip tweezing altogether?
Trimming is helpful for softening long hairs, but you still need to remove certain hairs to reveal your shape. A mix of light tweezing and careful trimming gives the cleanest, most refined result without harsh lines.