

How To Stop Lipstick Bleeding And Feathering Around The Mouth | Red Apple Lipstick
Lipstick bleeding can make even your favorite shade look messy. Color creeps into fine lines around the mouth, settles into tiny wrinkles, and suddenly your lipstick looks fuzzy instead of crisp. The good news: with the right prep, application, and products, you can wear bold color with confidence again.
Table of Contents
Quick overview
- Lipstick bleeding is usually caused by fine lines, collagen loss, and dryness around the mouth.
- Daily lip care plus smart application can keep creamy formulas from feathering.
- Soft, hydrating formulas from Red Apple Lipstick flatter mature, dry, and sensitive lips.
What Is Lipstick Bleeding?
Lipstick bleeding, or feathering, looks like your lipstick is sneaking outside your natural lip line. Instead of a smooth, defined edge, color softens and spreads into the tiny lines around your mouth. It is most noticeable with bright or dark shades and with creamy or balm-like formulas.
You might notice it most in photos, in the car mirror, or after a few hours of wear. The lipstick itself is not always the problem. Often, the lip skin and how the color is applied make the biggest difference.
Why Lipstick Starts To Bleed
Lipstick bleeds or feathers primarily because of texture changes in the lip skin and surrounding area.
- Loss of collagen over time. Lips can shrink slightly and lose firmness as we age. Fine vertical lines deepen, creating little paths that lipstick loves to travel along.
- Dry or dehydrated skin. When lips are dry, you see more flakiness and deeper crevices. Creamy color skips, clings to rough patches, and moves more easily into nearby lines.
That combination can feel discouraging, but you are far from stuck. A little daily lip care and a few simple techniques can dramatically reduce lipstick bleeding so you can enjoy every shade in your makeup bag again.
How To Stop Lipstick Bleeding (Step By Step)
Step 1. Exfoliate Your Lips
Start with a smooth canvas. Gently exfoliating removes dry, flaky skin so lipstick can grip evenly instead of catching on rough spots and sliding into lines.
Use a dedicated, gentle exfoliator such as the Lip Exfoliate Stick to buff away dead skin in a few light passes. You can also softly massage lips with a damp terry washcloth while you are cleansing your face, but avoid scrubbing hard. Think gentle polish, not a harsh scrub.
Step 2. Keep Your Lips Hydrated (Without Overdoing Balm)
Once lips are smooth, add hydration. The goal is comfortable moisture without leaving such a thick, slippery layer that lipstick has nothing to hold onto.
Apply a thin layer of Rallye Balm, massage it in, then gently blot any excess with a tissue. Do this at the start of your makeup routine so the balm has time to sink in while you finish the rest of your face. By lipstick time, lips feel soft instead of slick.
Step 3. Use A Lip Liner As A Soft Barrier
A lip liner can act like a gentle fence that keeps lipstick from wandering. Outline your lips with a creamy lip liner, then lightly fill in the entire lip area with that same lip liner before applying lipstick.
Choose a shade that is close to your natural lip color or matches your lipstick. This gives you a smooth base layer, adds a bit of grip, and helps the outer edge stay crisp without looking harsh or overdrawn.
Step 4. Dab, Then Use A Lip Brush
How you apply lipstick matters. Instead of one big swipe from the tube, try pressing the color in with a dabbing motion. This helps lipstick meld with your lips instead of sitting on top in a thick layer that can slide around.
For even more control, use a quality lipstick brush. You can dab the bullet onto your lips, then use the lip brush to work the color into the lip surface and fine lines in a controlled way. A brush also makes it easier to create a clean edge near the lip line.
Step 5. Blotting Sets Your Lipstick
Blotting is the simple step many people skip. After you apply lipstick, gently press a tissue between your lips. This removes the extra top layer of color that is most likely to migrate, while leaving plenty of pigment anchored to your lips.
Red Apple Lipstick co-founder Andrea Harper walks through lipstick prep and blotting in detail in the Lipstick Like A Pro video series, which is a great resource if you want to see each step in real time.
Expert Tip From Makeup Artist Rebecca Casciano

If you are concerned about lipstick bleeding, choose a more matte finish or apply lipstick in the center of the lips first, then blend out toward the lip line with your fingertip. This gives a softer, stained look and reduces extra product near fine lines. If color does bleed, remove the excess with a cotton swab, then lightly powder around the mouth before touching up.
Rebecca Casciano
Clean Beauty Makeup Artist
How To Fix Lipstick That Has Already Bled
Sometimes you catch lipstick bleeding after it has already happened. Maybe you notice it halfway through the day or when you get back to your car. Here is a quick rescue routine you can do in a few minutes.
- Gently remove the feathered edges. Use a makeup wipe or cotton swab with a bit of remover to clean up color that has crept outside your lip line.
- Add a thin barrier. With a clean lip brush, apply a very thin line of concealer or foundation around the outer edge of your lips. This hides any remaining stain and creates a soft wall that discourages more bleeding.
- Refine your lip line. Go back in with your lip liner to lightly redefine the shape, then add a small amount of lipstick back on, focusing more color toward the center of your lips.
For extra coverage around bold reds, many people like a concealer with a subtle yellow tone to neutralize leftover pink or red at the edges. If you use green color corrector, keep it very sheer and layer your usual concealer or foundation on top so the skin still looks natural.
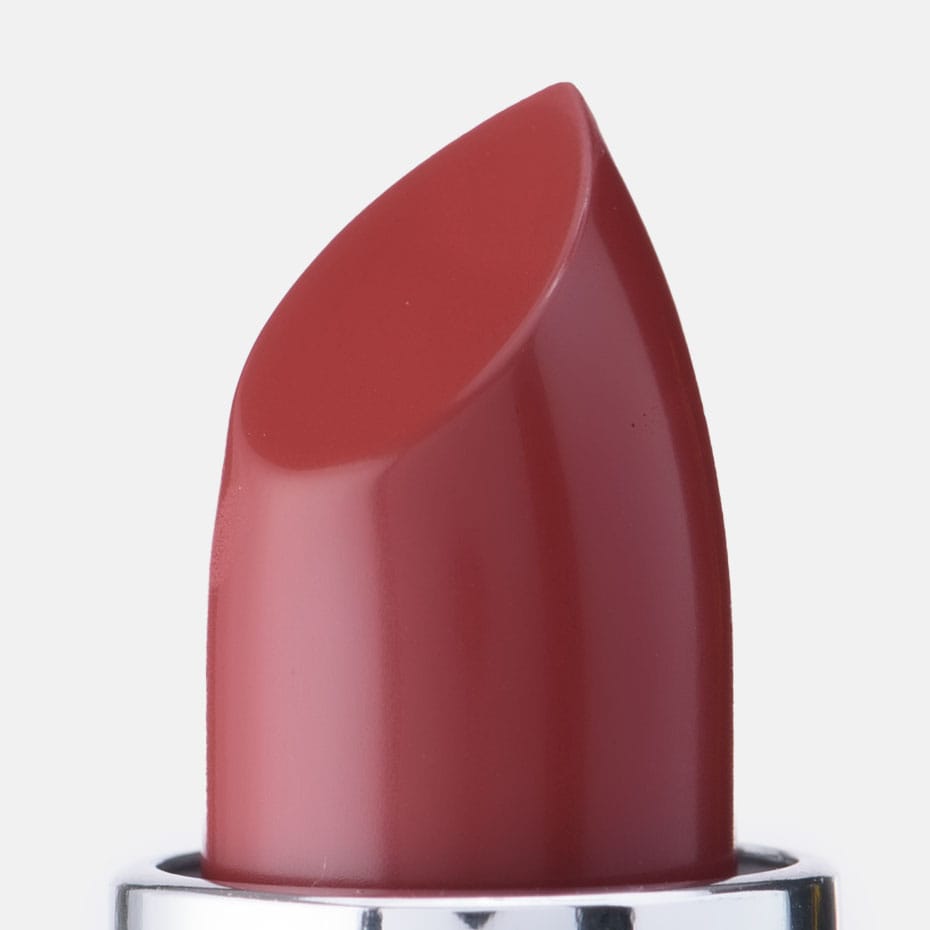
Best Red Apple Lipstick Picks For Clean Edges
Once your prep and technique are in place, the right lipstick shade is the fun part. These hydrating, gluten free formulas are kind to sensitive, dry lips and look beautiful when paired with a good lip liner.
- Audrey is a soft, neutral pink red that suits many skin tones and looks polished for everyday wear.
- Hibiscus offers a lively berry pink that shines when you want a bit more pop without harsh edges.
- Can’t Be Beet gives you a rich berry red that stays elegant when applied in thin layers and blotted.
- Day After Morocco is a refined warm pink that feels sophisticated and wearable for day or night.
- Mauve Me and Maven Mauve bring soft mauve tones that flatter lines around the mouth instead of emphasizing them.
- Strawberry Lips is a gentle, warm red that pairs beautifully with a barely-there eye look.
If you prefer a sheer wash of color, try Appley Ever After or Secrets for a softer look that still brightens your face. For a bolder statement, shades like Berry Blast, Rebel!, or Risqué! look stunning when paired with careful lining and blotting.
FAQs
What causes lipstick bleeding as I get older?
Most of the time, lipstick bleeding comes from a mix of collagen loss around the mouth, deeper fine lines, and dryness. Creamy formulas can then travel into those tiny lines. Gentle exfoliation, hydration, and a good lip liner help address the root of the problem.
Can I still wear bright or dark lipstick if my lipstick bleeds?
Yes. Bright and deep shades just require more prep and precision. Exfoliate, hydrate lightly, use a matching lip liner, apply lipstick in thin layers, and blot. Many customers find bold colors like Can’t Be Beet and Berry Blast very wearable with these steps.
Do I have to use a lip liner every time?
You do not have to, but a lip liner can make a big difference if you struggle with feathering or want your lipstick to last longer. On low effort days, you can line just the outer edge or focus on the cupid’s bow and corners where bleeding tends to start.
Which Red Apple Lipstick shades are easiest for beginners?
Soft, forgiving shades such as Audrey, Mabel, New York, and Strawberry Lips are great starting points. They add color without looking harsh and pair easily with simple eye makeup.
What if I try these tips and still have trouble?
You are not alone. Lip shapes, skin types, and routines are all different. If you are still seeing lipstick bleeding, reach out to the Red Apple Lipstick team with a selfie and what you are using. We are always happy to help you troubleshoot and find a routine that works.